
Well I am three weeks in. It sometimes feels like it has been much longer than that because I feel like I have accomplished a lot already. Sometimes it fills me with existential dread knowing that my show is coming up in just a few weeks and I feel like I should have more done.
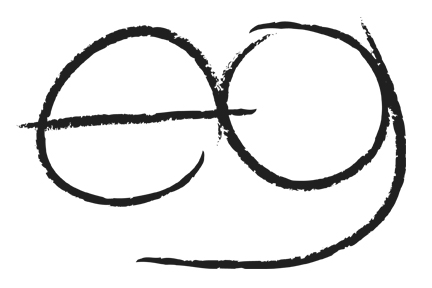
But let's look at the progress, shall we? I have 5 of the banksia pods made. I am planning on enamelling the little beaky parts. I am off to the studio soon to do a small scale test of some colours. But hopefully these:

Will look something like this when I am done:

All of my pieces start out at the wax stage, I embedded copper foil into the wax which is all fused (for lack of a better word) together when it has been coated in copper.

I still have a lot of decisions to make in regards to these pieces but a few things will be decided today (once I venture out into the -20 degree weather)

Mushrooms are also sort of taking over, these are my test pieces, I figured out a lot working through these ones. I used copper foil again for these. It was embedded far enough in the first one, but was put it too far in the second one.

These ones, still in wax and foil stage were at the best of both worlds stage.
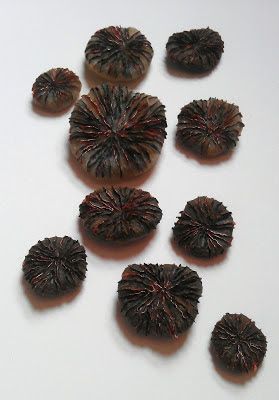
As with the pods, I have some decisions to make with these too. Enamelling is probably going to play a huge part in these pieces as well. It's kind of weird that before I see these as jewellery, I see them installed in a gallery. I suppose that is kind of a good thing, seeing as my gallery show is in 40 days, but I am kind of concerned for how everything is going to come together this semester. At the same time though, I am really excited by this new work.

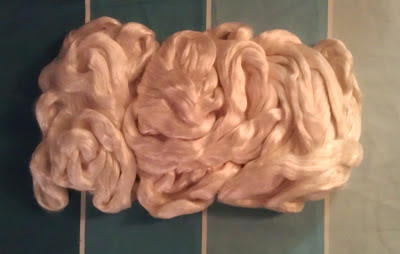
This picture might seem completely random, but all will become clear soon. I ordered some mulberry silk roving. It is so luxurious and beautiful. I will hopefully be using it to make some earrings, actually time permitting, lots of earrings.
And have I mentioned before how much I love enamelling? I have been lucky enough a few times to be the only person in the small room. One day, I will be as organized as our instructor Lillian. Everything in this studio has a place/is colour coded/is labelled clearly.

A few of my sifting samples from last week. I really love this blue (it's called Wedgewood). I mostly love it in the sample on the left because it covers up the really terrible fleshy colour I used as a base with the lace stencil.

This, I have put up purely for my parents delight. I was always a little bit neurotic when it came to sorting things by colour, there were always categories and often subcategories. Specifically there was always argument when it came to the aqua range of colours. I had clearly distinguished the difference between green-blue, and blue-green to my parents (I was probably 7 or 8 years old, possibly younger). Eventually they learned not to argue with me, mostly they just laughed at my long winded descriptions of colours.
Imagine my joy when I saw the enamel board with all of the colours and saw two distinct categories "green-blue" and "blue-green" (the third row from the top of the opaques). See Mom! There is a difference!

The opaque enamel colours are really beautiful, though I am not really partial to the transparents. This struck a few people as odd at school given my glass background. Perhaps layered over similarly coloured opaques (something I am going to test today) but I am not a huge fan of them as is. Who knows, maybe I will learn to love them.